Use modern Power Apps Tablist control for navigation
The modern and updated TabList control in Power Apps can serve multiple purposes, such as changing views in a gallery, displaying and hiding sections on a screen, and more. One of its potential applications is to use it for simple screen-to-screen navigation. While there are other alternatives to the TabList control for screen navigation, it is still feasible. Here is how to use it:
Create your screen layout.
I’m not going into details for this part because everyone’s layout may differ. My standard layout has a horizontal container as the outer container; I add two vertical containers inside it and adjust the width and padding as needed.
I’m using the Tab list as a Vertical navigation in this example, but you can certainly use it horizontally in your header.
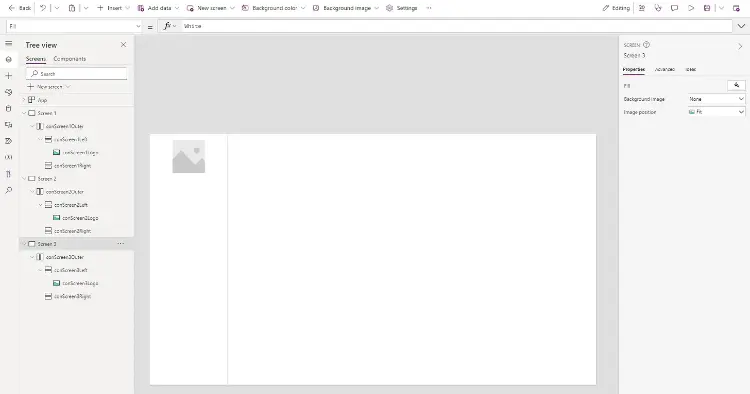 The canvas app simple container layout.
Repeat for multiple screens. In my example, I have 3 screens named “Screen 1”, “Screen 2”, and “Screen 3”.
Create your navigation collection.
In this step, we will create our navigation collection. The nice thing about this approach is you can manage your navigation in one place, including which screens are selected. You can easily add a new screen to the collection.
In the App.OnStart property of your app, create your navigation collection. Copy the code below to get started. The Label is what I use to display to the user. The Screenproperty is the screen we navigate when the tab is clicked. These properties can be named however you like.
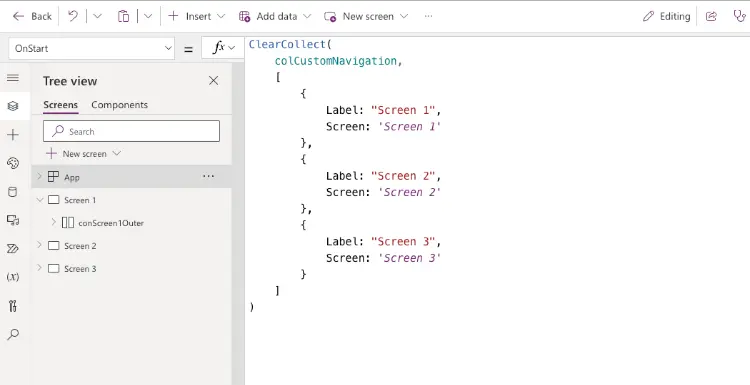 The custom navigation collection
ClearCollect(
    colCustomNavigation,
    [
        {
            Label: "Screen 1",
            Screen: 'Screen 1'
        },
        {
            Label: "Screen 2",
            Screen: 'Screen 2'
        },
        {
            Label: "Screen 3",
            Screen: 'Screen 3'
        }
    ]
)
Enable modern controls.
If you haven’t already, you’ll need to enable modern controls in your app. Click on Settings > Upcoming Features and search for “modern”. Enable the Modern controls and themes feature.
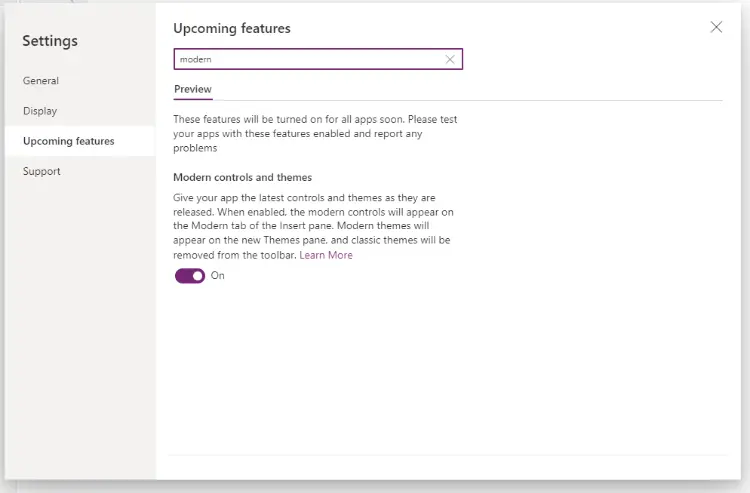 Enable modern controls and themes.
Add the TabList control to your screen.
Insert the modern Tab list control into your screen.
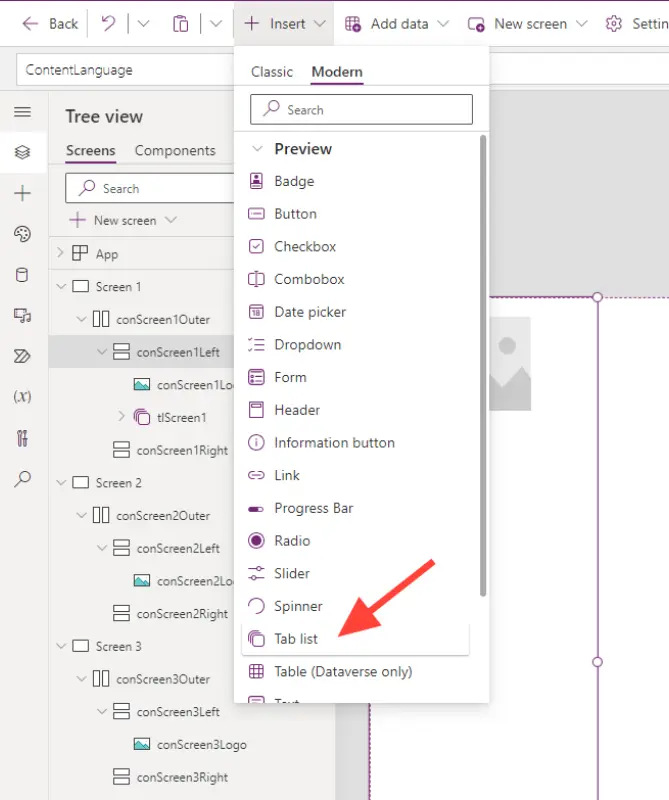 Add the Tab list control.
Configure your Tab List control as you like. I have my setup as follows:
- Items property = the collection you created earlier, e.g., colCustomNavigation.
- Fields property = Select the Label and Screen fields.
- Accessibility Label = “Navigation”
- Size = Large
- Alignment = Vertical
- Font-Size = 15
- Flexible Height = Yes.
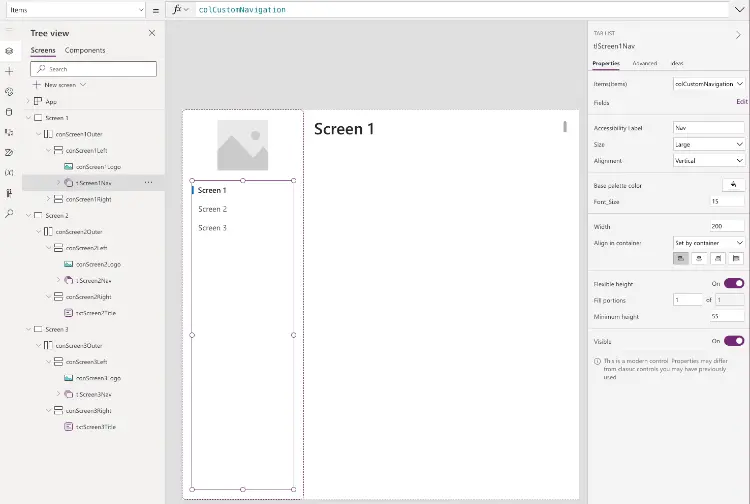 Configure the Tablist control.
Configure navigation in your Tab List.
We want the user to be navigated to another screen when they select a tab in the Tab List control.
- Select your Tab List control.
- Go to the OnSelect property.
- Add the following code:
Set(varCurrentNav, Self.Selected);
Navigate(Self.Selected.Screen, ScreenTransition.Fade)
This will first set a global variable, varCurrentNav, to the selected tab. We’ll use this soon. Then, it will navigate to the screen that is assigned to the selected tab in the collection. Pretty simple!
Configure your Default tab.
Next, we want to set your default tab in the Tab List. This will ensure when you navigate to another screen, it will show the tab representing that screen as selected.
Select your Tab list control.
Go to the DefaultSelectedItems property.
Add
varCurrentNavto the formula bar. This is the name of the variable we’re setting in the previous step.Conclusion
 The Tablist navigation in action.
That should cover the basics for using the Tab List modern control to navigate between screens in your Canvas Power App. Let me know if you have any questions!